You paid for a damp proof course, and the wall is still damp. Or you are buying a house with a neat line of plugged holes along the brickwork and a guarantee certificate in the seller's paperwork, and you want to know whether it is worth anything. Either way, the question is the same: was the damp proof course installed correctly?
The good news is that much of the answer is visible from outside with a tape measure and ten minutes. The more uncomfortable news is that when a wall stays damp after a DPC, the most common reason is not a badly injected DPC at all — it is that the wall never had rising damp in the first place, or that something is bridging the new course, or that the old plaster was never replaced.
First: was it ever rising damp?
Start here, because it changes everything. The RICS consumer guide on damp and mould says rising damp is often misdiagnosed, that genuine failure of an original damp proof course is extremely rare, and warns against anyone who diagnoses damp using a moisture meter alone — those meters are only accurate in timber. Surveyors have long pointed to overflowing gutters and leaks being mistaken for rising damp.
If your original "survey" was someone pressing a meter to the wall and recommending an injection, the DPC may have been installed perfectly well into a wall that never needed it. The damp is still there because the real cause — condensation, penetrating damp or a leak — was never dealt with. No amount of re-injecting will fix that.
What a correctly installed injection DPC looks like
There is no single universal specification — each injection cream has its own certificate — but the British Board of Agrément (BBA) certificates for the leading damp-proofing creams, and the manufacturers' own instructions, agree on the essentials:
| What to check | What correct looks like | Red flag |
|---|---|---|
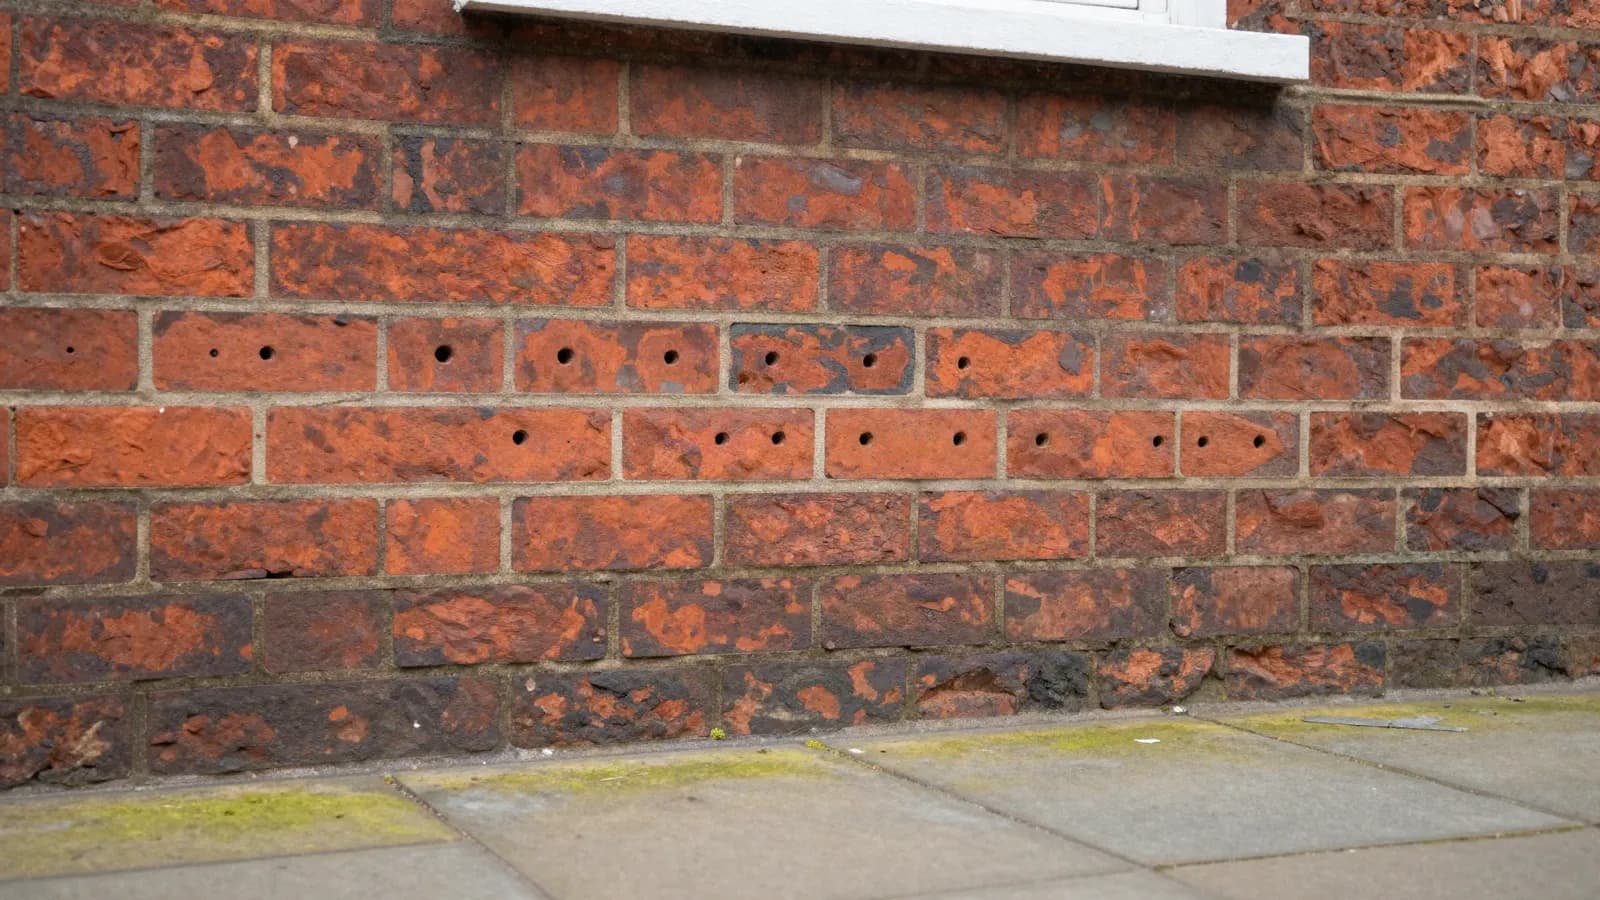
| Height | Hole line at least 150mm above outside ground or paving, including where ground levels step | Holes at or below path level, or one level line along a sloping garden |
| Position | Holes in a horizontal mortar joint | Holes punched through brick faces, wandering across courses |
| Spacing | Evenly spaced, about 120mm apart or closer | Big gaps, or missing sections behind downpipes, bays and steps |
| Hole size | Typically about 12mm | Much larger, ragged holes |
| Filling | Holes plugged with mortar or plastic plugs | Open holes left to the weather |
| Cavity walls | Both leaves treated, cavity clear at the base | Only the outer leaf treated |
| Inside | Old plaster removed and replaced with a salt-resistant plaster | Original plaster left on and painted over |
Two caveats. In flint, rubble or random stone walls — common across Brighton and Sussex — there may be no continuous mortar joint to follow, and the certificates allow injection into porous stone instead. And holes plugged with colour-matched mortar can be hard to spot, while some walls are treated from the inside. So not seeing a hole line outside does not prove the work was not done — check the paperwork.
Hole depth matters too (typically to within about 20mm of the far face of the wall, depending on the product), but you cannot check it by eye. That is a question for the installer's specification.
Is anything bridging it?
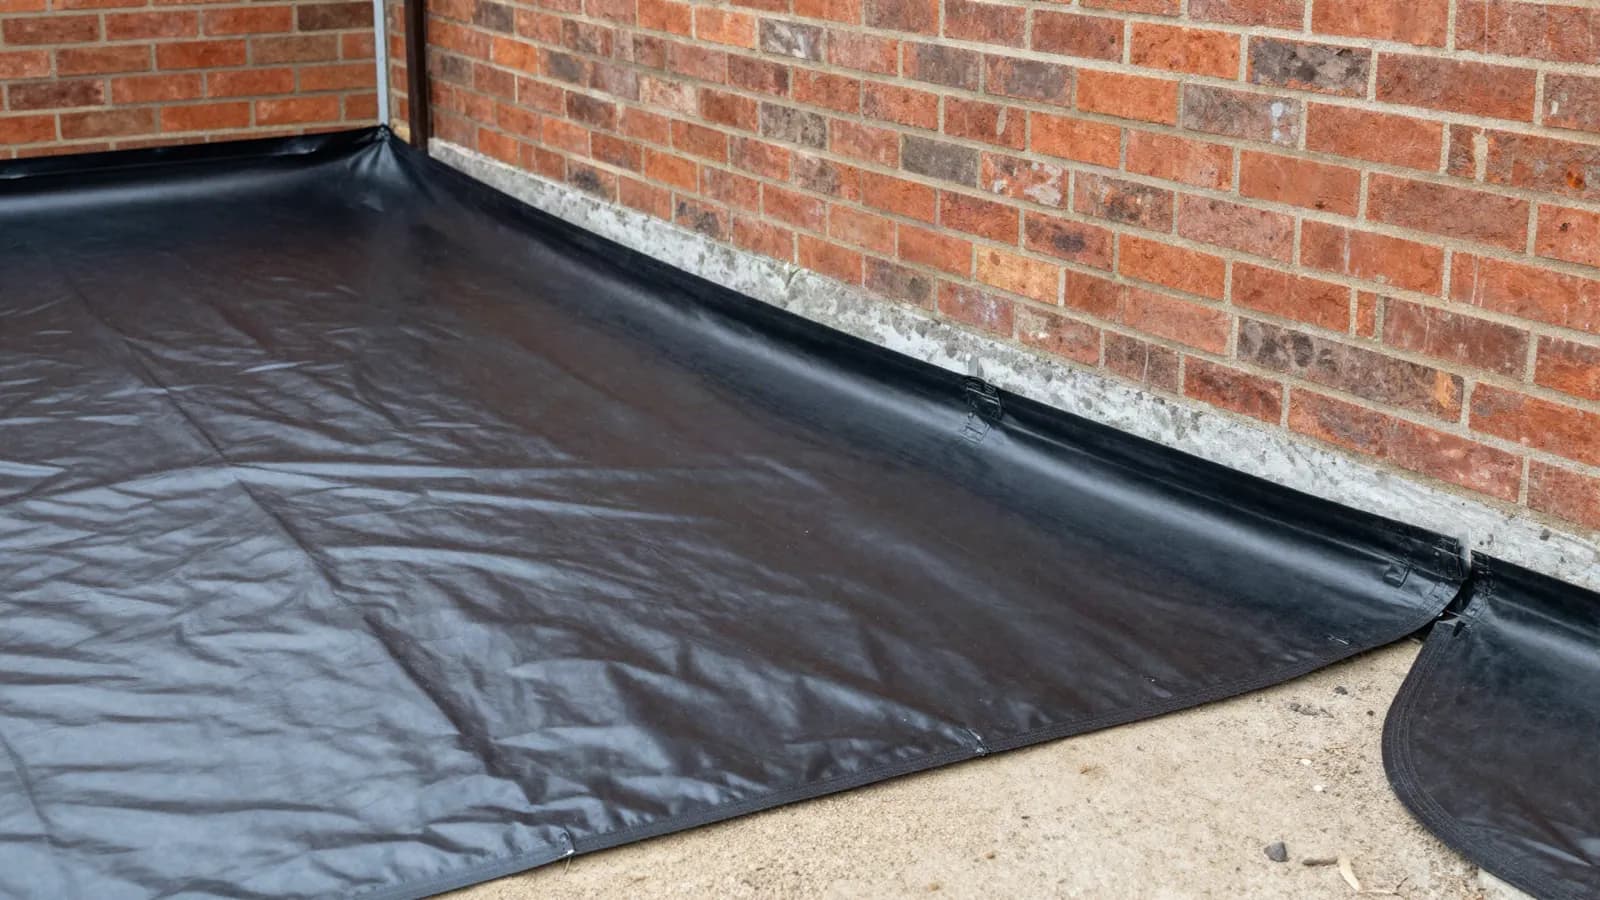
Bridging — something that lets moisture climb around the new course — is one of the commonest reasons a sound DPC stops working. Conservation specialists list raised ground levels, alterations and debris in wall cavities among the usual causes. Look for:
- High ground outside. A patio, path, flowerbed or soil heaped against the wall within 150mm of the hole line. This is the big one, and often the cheapest to fix.
- Render running to the ground. External render should stop above the DPC, usually finished with a bell-cast bead so water drips clear. Render down to the pavement carries moisture straight past.
- Plaster or screed below the DPC inside. New plaster should stop above DPC level — not run down behind the skirting to the floor. A floor screed or new floor laid higher than the DPC can bridge it too.
- A floor membrane that never meets the DPC. The two are meant to join up. If you are unsure which is which, see our DPC vs DPM guide.
- A blocked cavity. In cavity walls, mortar droppings or rubble at the base of the cavity can bridge from the outer leaf to the inner one. This needs a survey to check.
A perfectly injected DPC with a patio laid 50mm below it is, in practice, no DPC at all.
Was the plaster replaced properly?
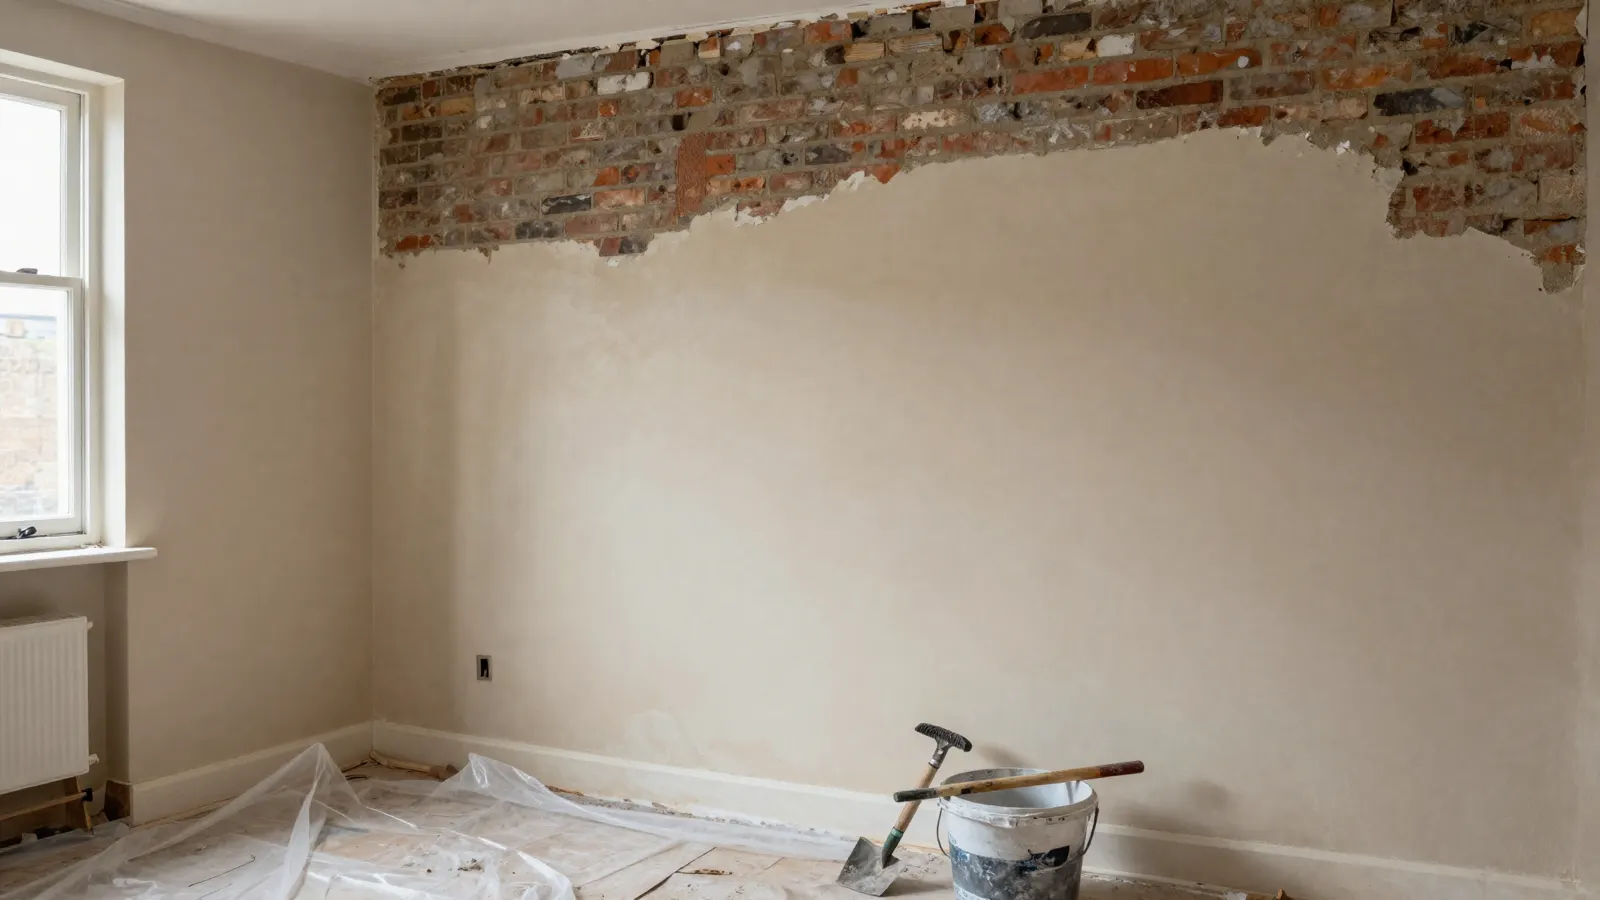
This is the step most often skimped, and the most common reason a correctly installed DPC "doesn't work". Years of rising moisture leave the plaster loaded with hygroscopic salts that pull moisture out of the air. The new DPC stops fresh water rising, but it cannot remove salts already in the plaster — so if the old plaster stays on, the wall keeps looking and feeling damp.
The manufacturers' instructions are clear on what should happen:
- Remove contaminated plaster to at least 300mm above the highest sign of damp or salts — several specifications set a 1 metre minimum.
- Leave the wall at least 14 days after injection before replastering.
- Replaster with a salt-resistant system — a renovating plaster or a sand-and-cement undercoat with a salt-retardant additive. Gypsum undercoats should not be used on the lower wall.
- Stop the new plaster above DPC level, so it cannot bridge it.
Red flags: the original plaster was simply painted over; damp has reappeared just above where the new plaster stops (the removal height was too low); or white, fluffy salts are pushing the paint off the new plaster.
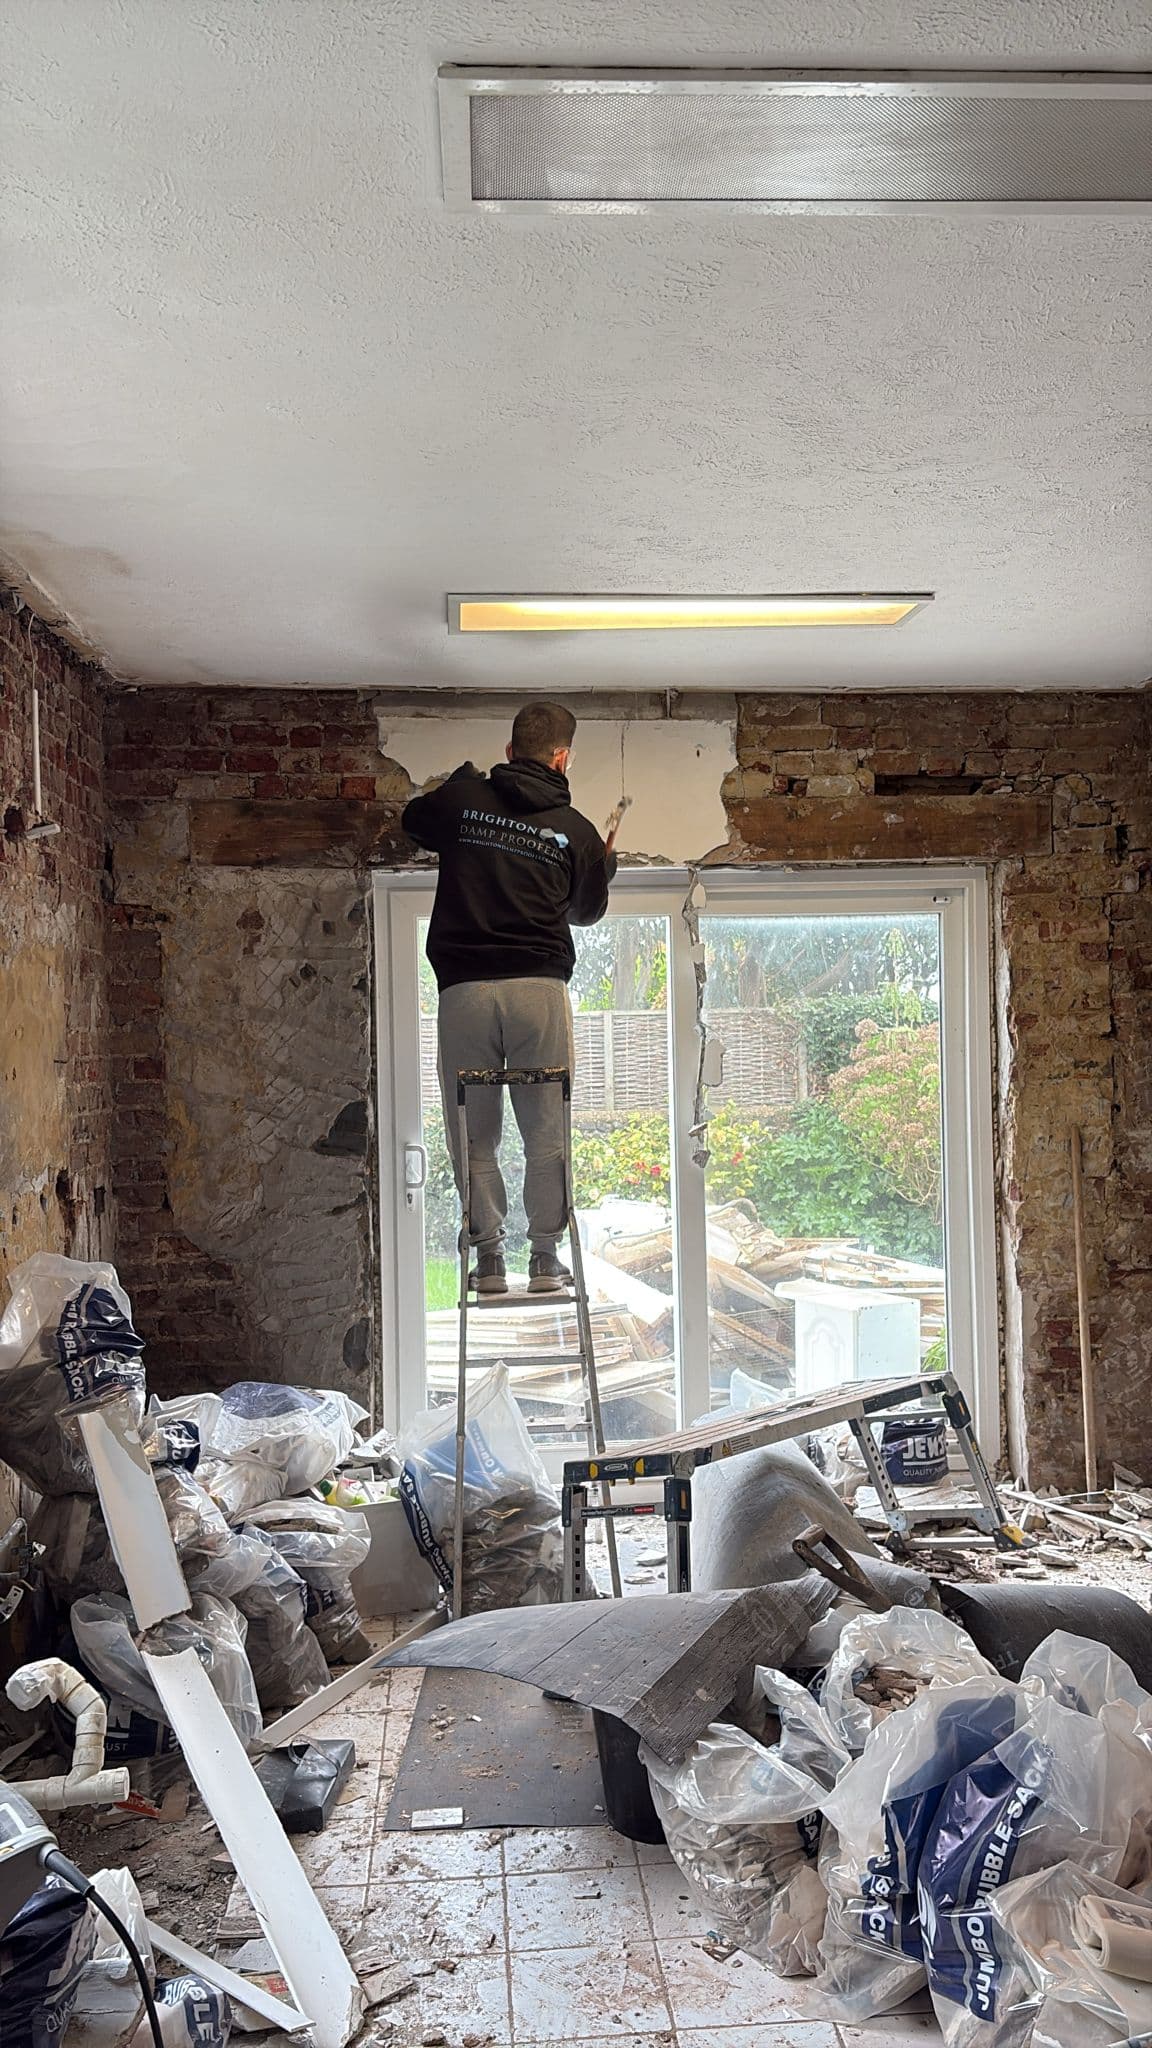
We explain why this matters in more detail in why we strip damp walls back to bare brick.
Has it had time to dry?
A wall that has been wet for decades does not dry overnight. The BBA certificates say a typical 230mm (nine-inch) solid brick wall should normally dry in 6 to 12 months, and thicker walls take longer. High readings in the first few months are not a verdict on the DPC. Our guide on how long damp proofing takes covers the drying stage.
Check the paperwork and the guarantee
Ask for, or dig out:
- The survey report and specification — what was diagnosed, which walls were treated, which product, how high the plaster was to be removed.
- The guarantee certificate — and read the conditions. Guarantees commonly depend on the replastering being done to the installer's specification, and on nobody bridging the DPC afterwards, for example by raising a patio.
- Any insurance-backed guarantee. These cover you if the original firm stops trading. RICS guidance notes they typically run for around 10 years, carry exclusions and caps, and can often pass to a new owner — but check with the insurer that the policy is live and what the transfer terms are.
If you are buying, the seller's property information form asks about guarantees, so your solicitor can request them. Our guide to why you need a damp survey before buying covers the rest.
Badly installed DPC, or a different problem?
These patterns point in different directions:
- A sharp tide mark low on the wall at the same height all year, with salts — points to the DPC, bridging or old plaster.
- Damp that is worse after rain, higher up the wall, or around windows and chimneys — points to penetrating damp.
- Black mould in corners and around windows, worse in winter — points to condensation.
- One localised patch near a pipe, bath or kitchen — points to a leak.
What to do next
- If the work is under guarantee, contact the original installer first. They should inspect, and going elsewhere for remedial work can affect the guarantee.
- If the firm has gone, or you dispute their findings, get an independent survey that identifies the source of the moisture — not just a meter reading and a quote for a re-injection.
- Do not inject again on top of an old DPC until someone has explained why the first one did not work. If the cause is bridging, old plaster or a different type of damp, a second injection will fail for exactly the same reason.
Want a second opinion on someone else's DPC?
We are often asked to look at damp proofing other firms installed, and we will tell you honestly whether the problem is the DPC, the plaster, the ground levels or something else entirely. Surveys across Brighton, Hove and Sussex start from £95 plus VAT, credited against any works. As a Biokil-approved contractor, our own DPC work carries a 30-year guarantee. Call 01273 536 985 or get in touch.